
Testing
It’s time to plug it in and see what happens.
- Connect your ESP32 board with a USB-C data cable.
- In the Arduino IDE toolbar, select the board and port from the dropdown.
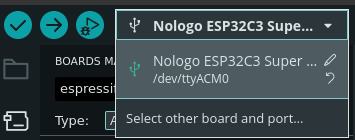
Selecting Board and Port - If it’s not already visible, open the Serial Monitor by clicking the magnifying glass icon in the top right.
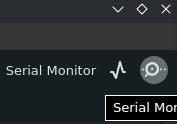
The Serial Monitor Icon - At this point, you should hopefully see data flowing back from the board.
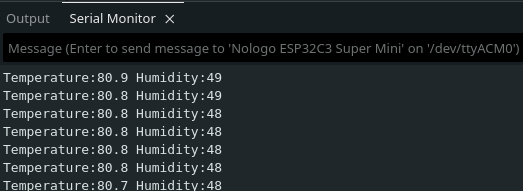
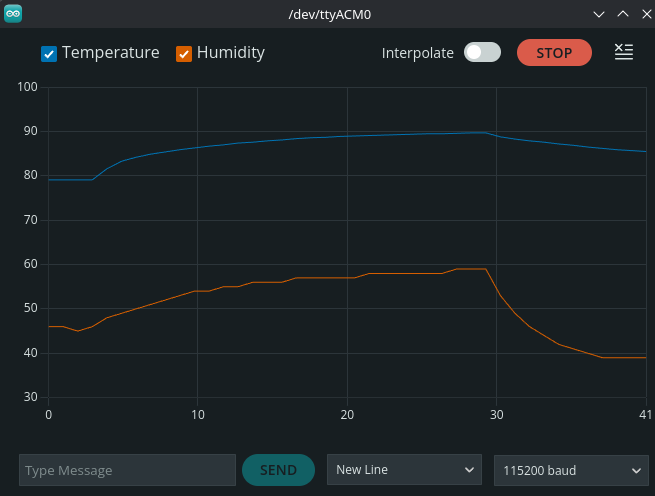
A Little Warm in the Workshop - To visualize the data, open the Serial Plotter by clicking the spiky graph icon in the top right.
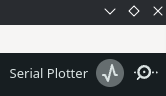
The Serial Plotter Icon - You should see a chart window with data coming from the board. If you blow on it or put your finger on the
little silver square on the temperature board, both values should start to change.
I'm not dead yet!
We’re going to overwrite the original code in the coming steps, but if you want to return to it, here it is:
Right now it’s not very useful: your laptop has essentially been turned into an expensive thermometer. Let’s change that by addressing the Internet part of IoT.
Next Up: Connecting To WiFi